Kali inside Hyper-V (Guest VM)
Table of Contents
For most Windows users Hyper-V is already enabled. However, in case it isn’t enabled on your system you can follow one of the following docs pages from Microsoft:
- For Windows 8, 8.1
- For Windows 10, 11
After we enable Hyper-V we can create a new VM very easily. We first need to download an installer iso. Then we can boot Hyper-V:
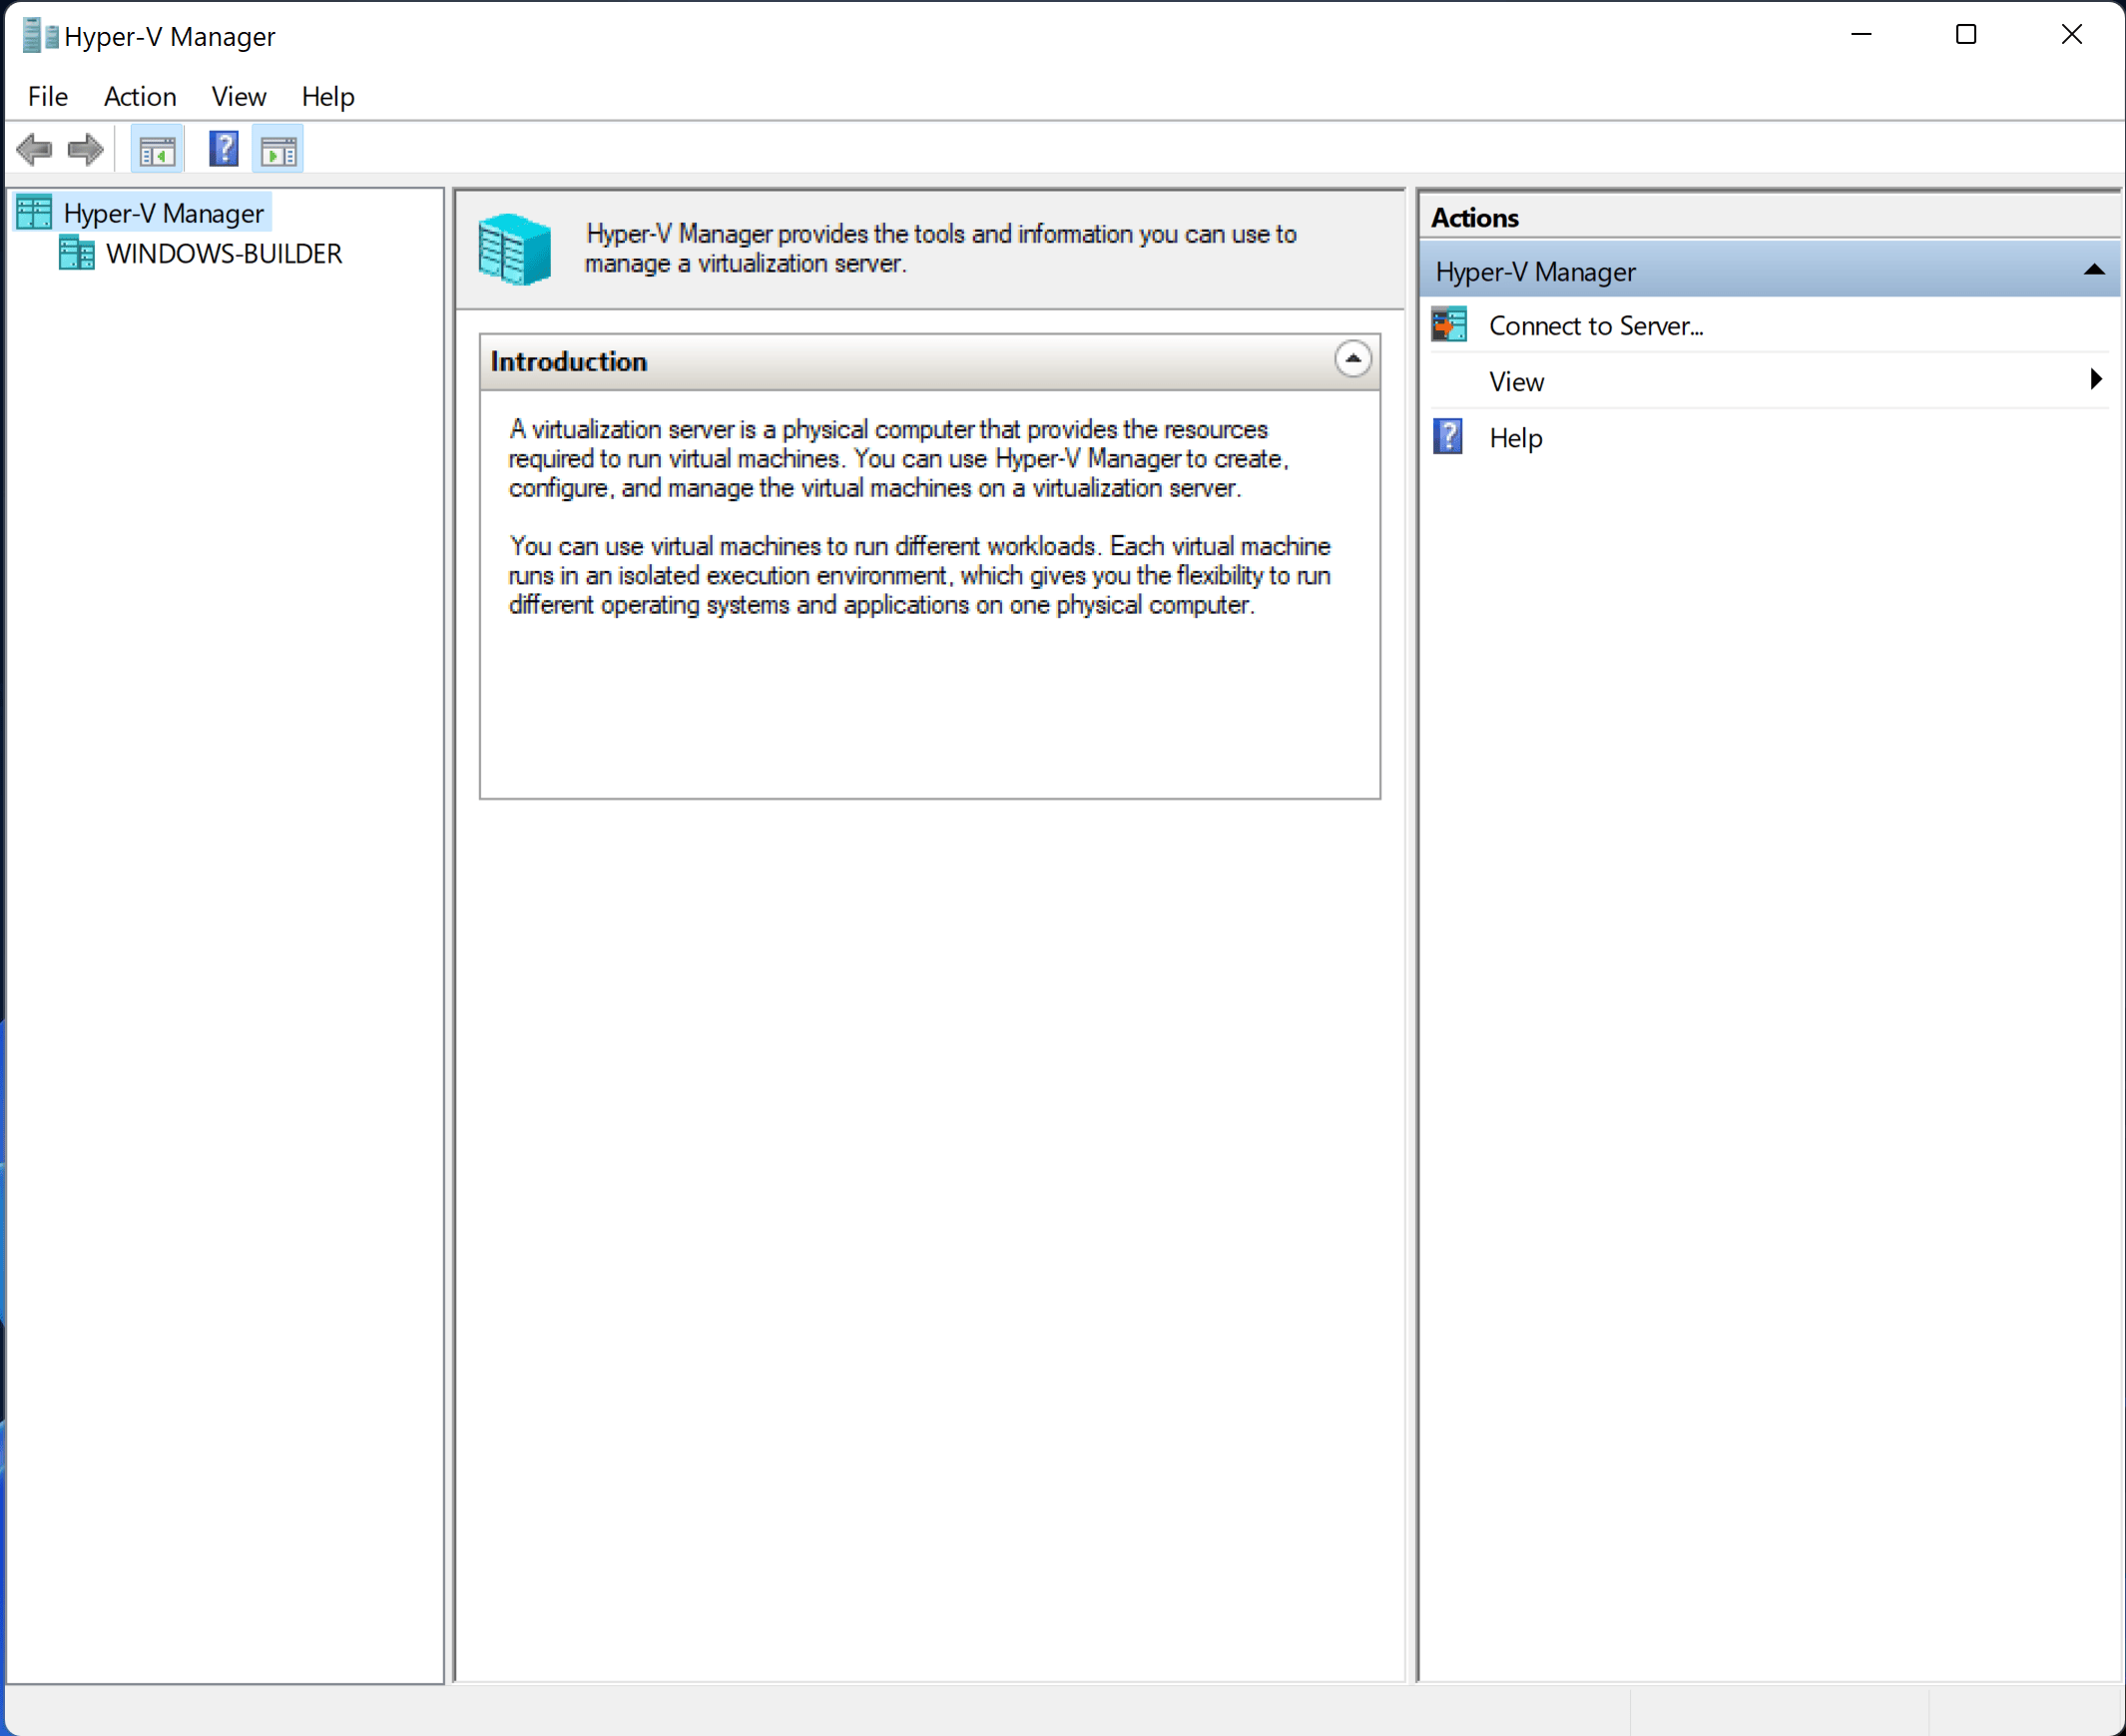
We will need to select our computer on the left-hand side under ‘Hyper-V Manager’:
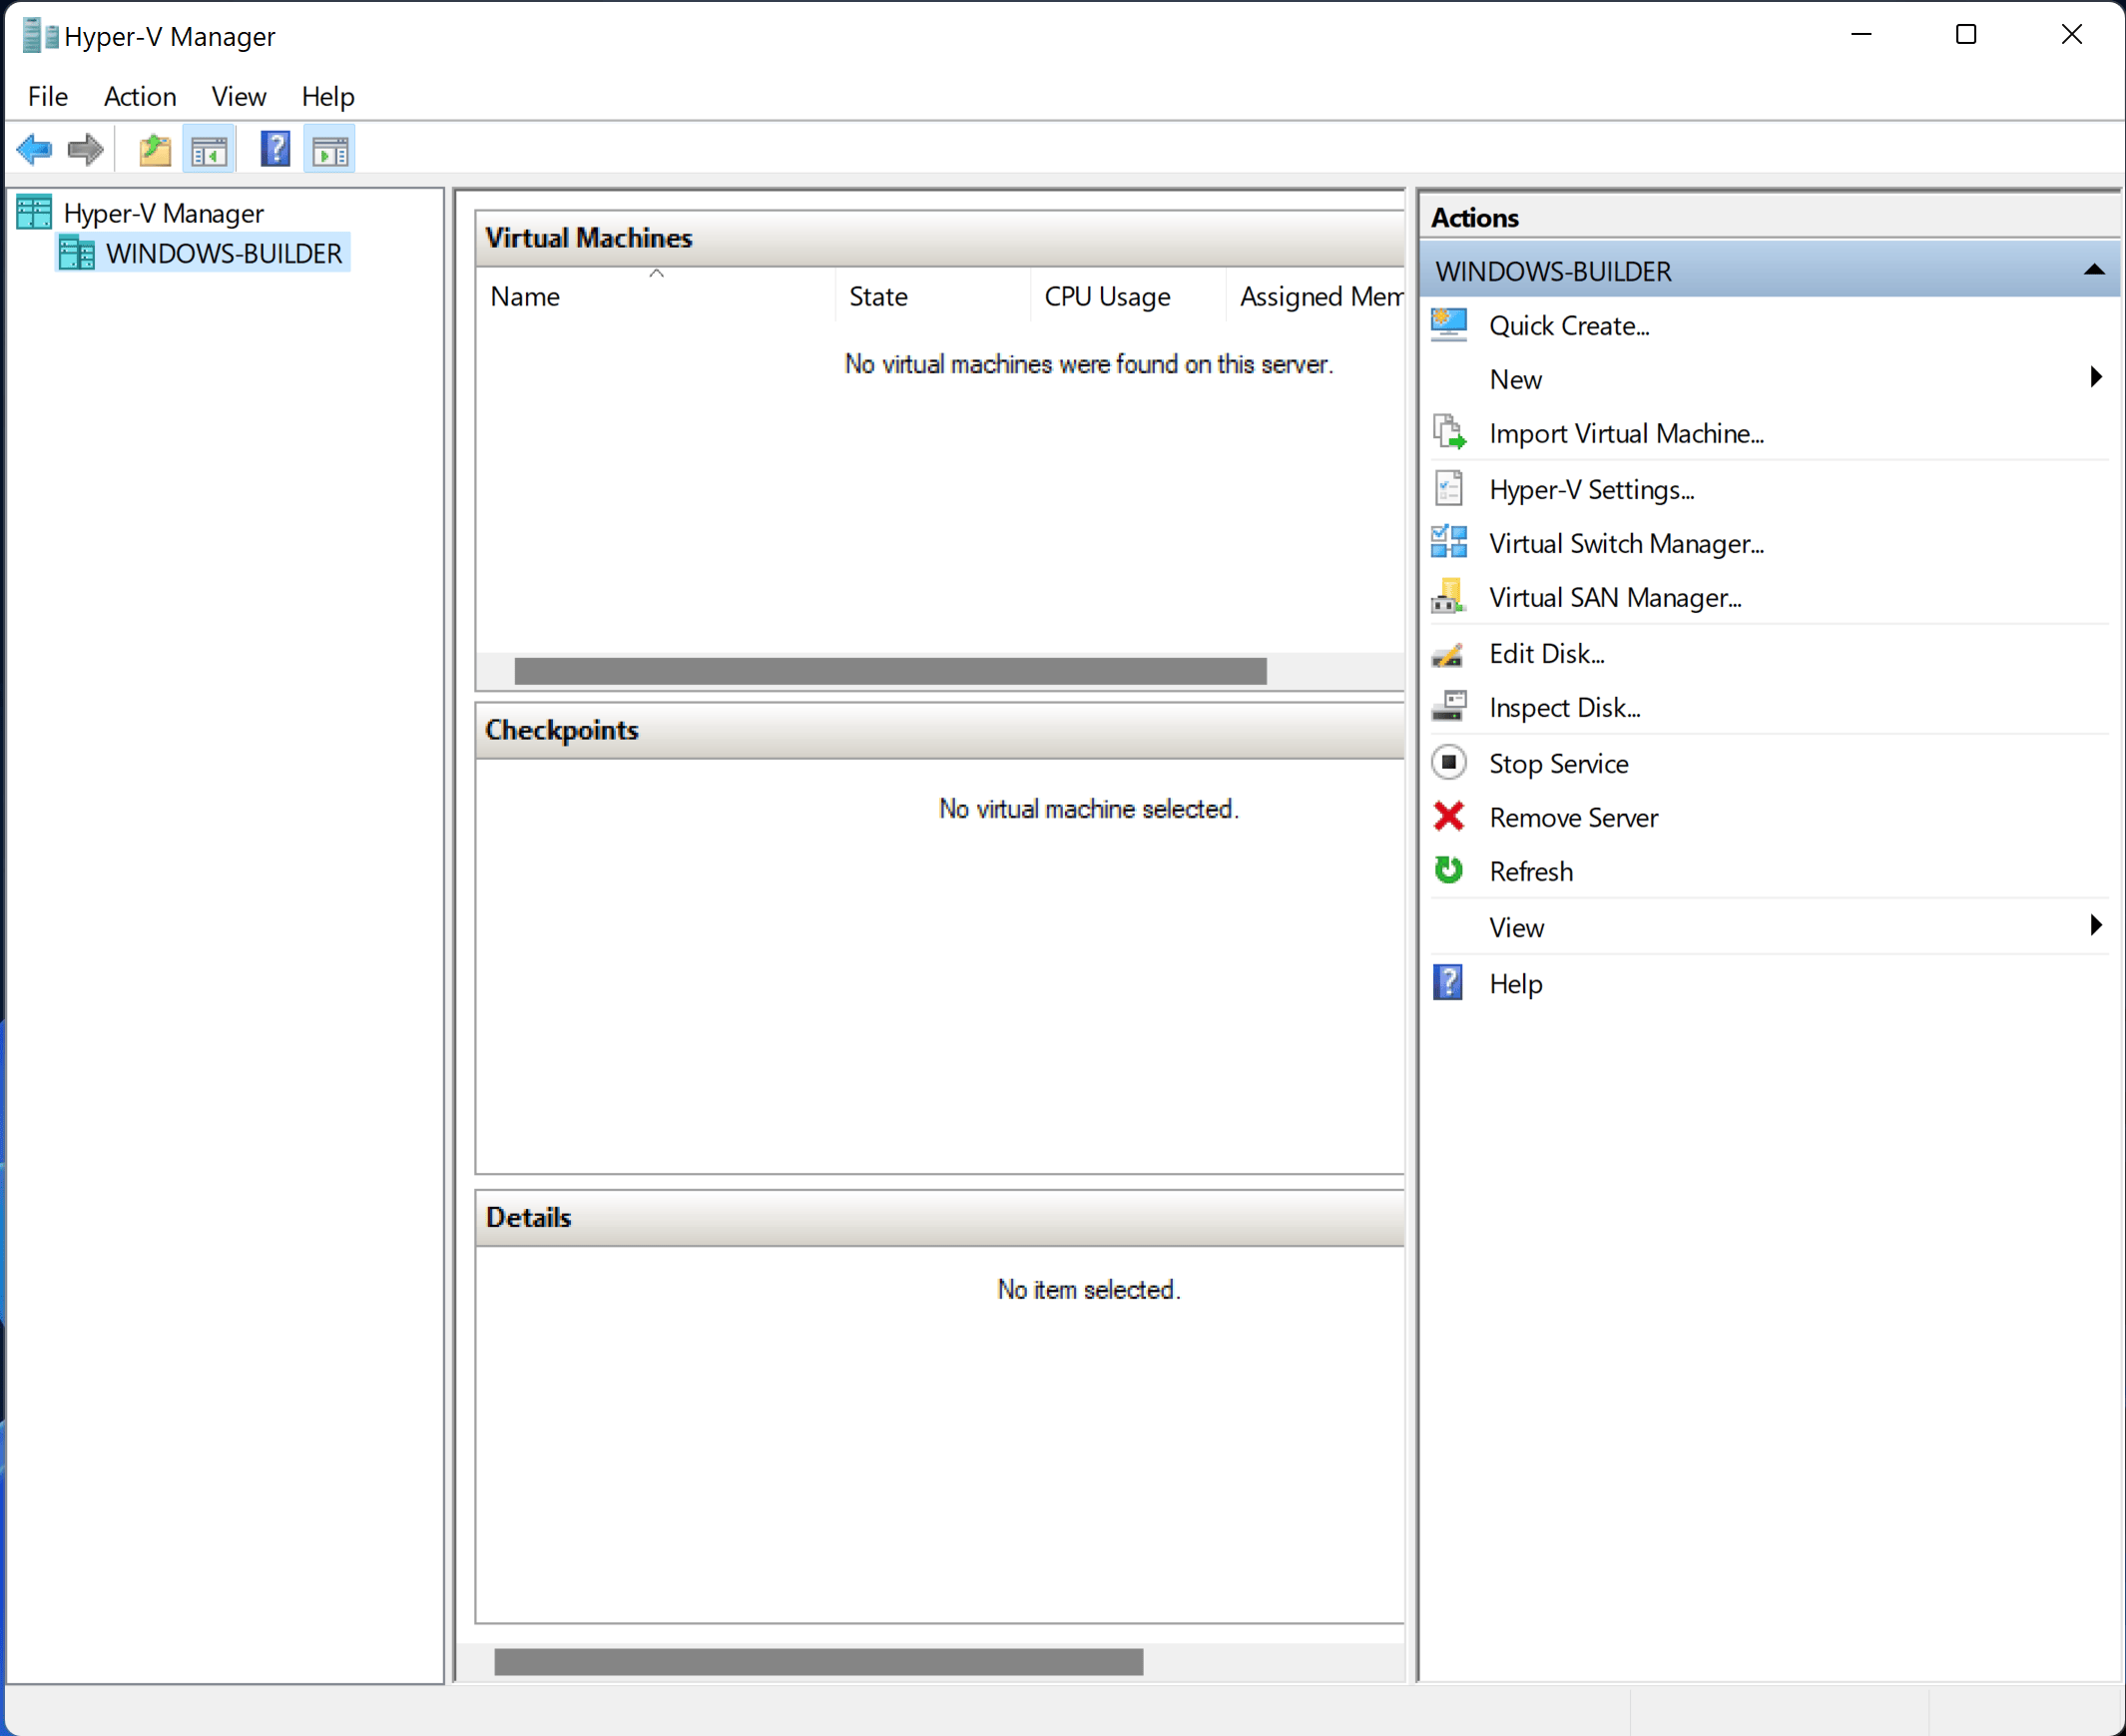
We can then select ‘Quick Create…’ on the right-hand side:
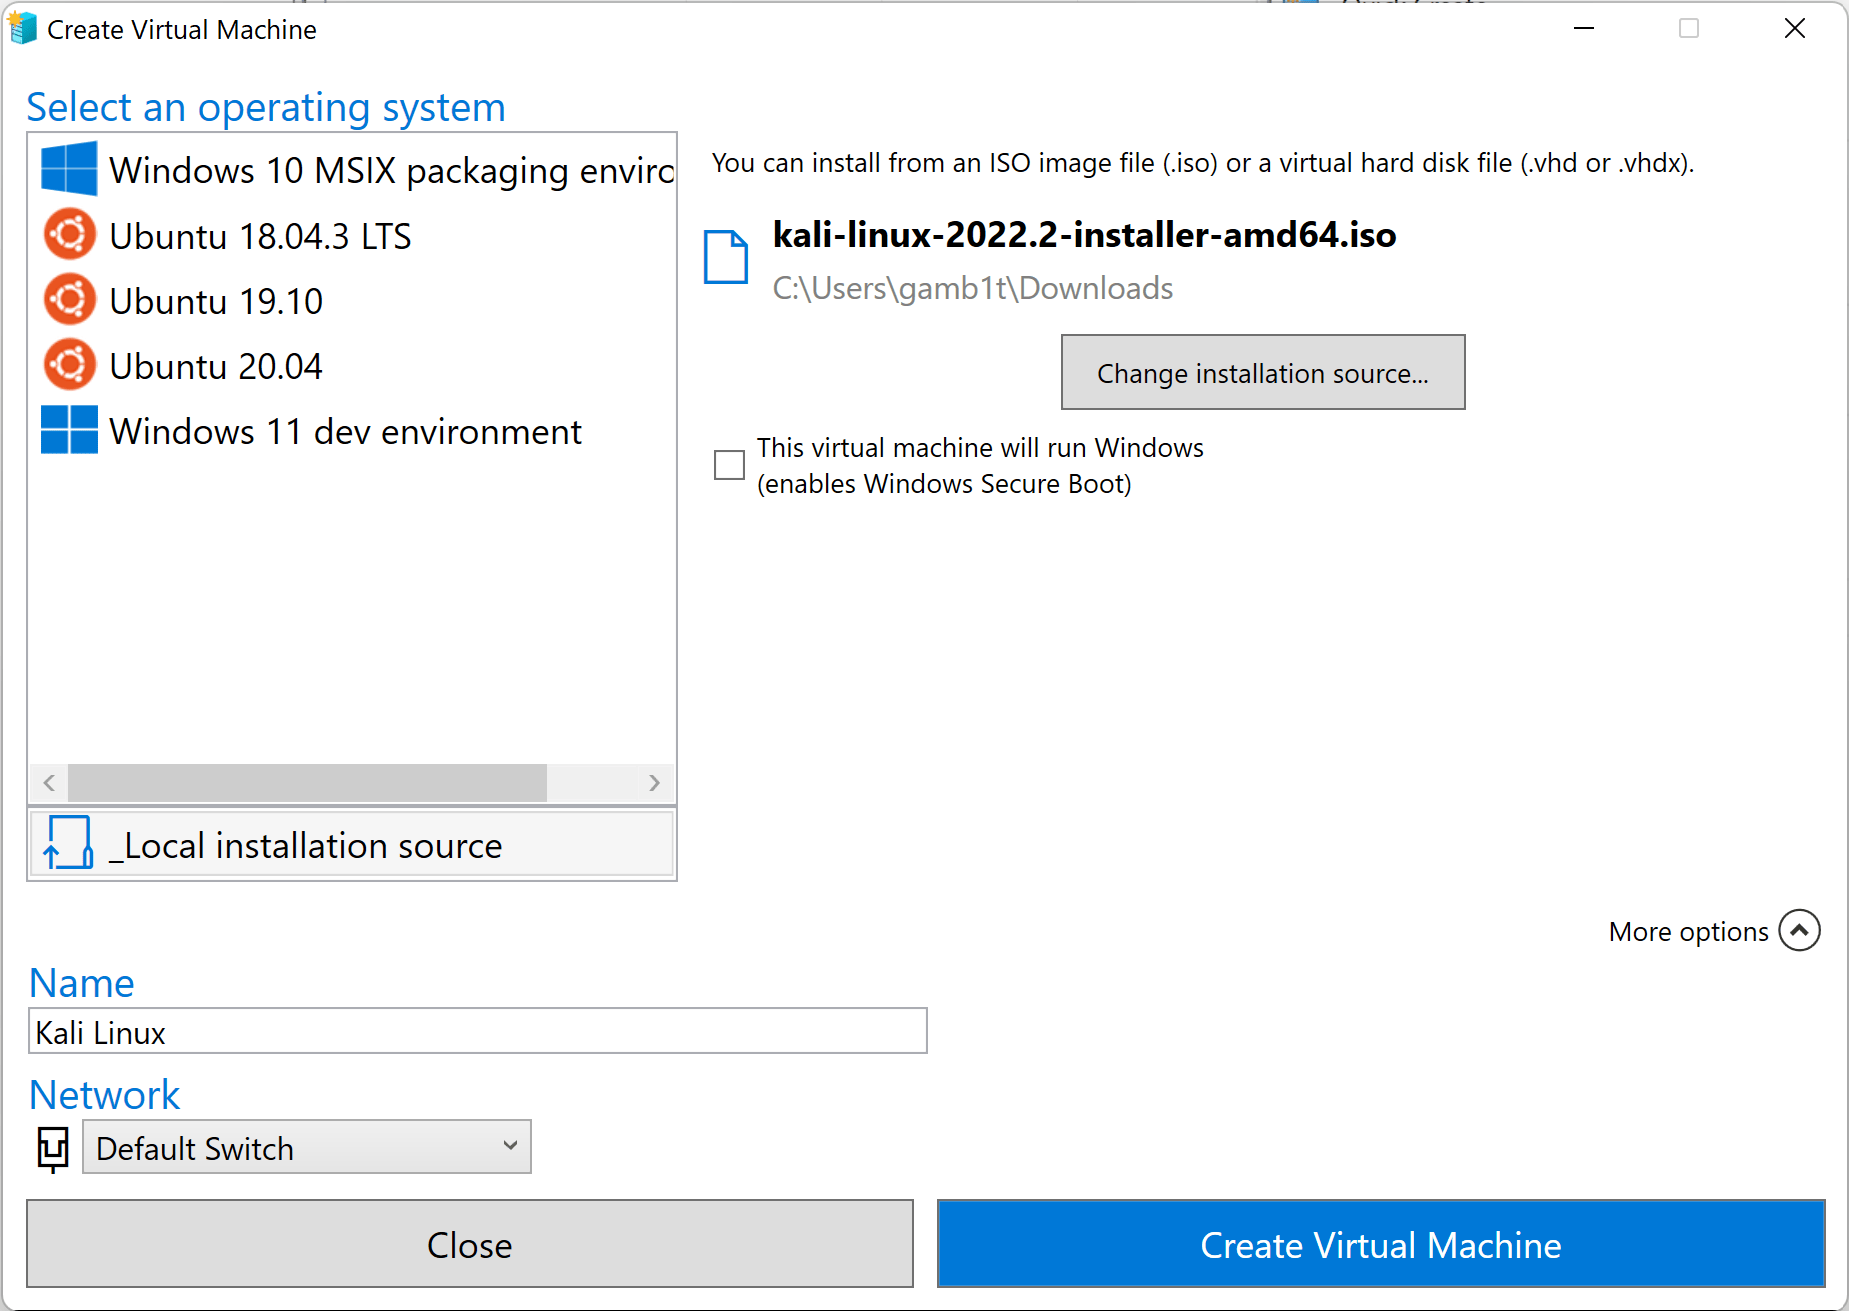
We will have to configure some things on this screen. We first be sure to have selected ‘Local installation source’ and then select our iso after selecting ‘Change installation source…’. After this we can de-select the option ‘This machine will run Windows’ and can also use the drop-down ‘More options’ menu to name our virtual machine.
Once we are happy we can select ‘Create Virtual Machine’ and wait for it to finish. We will then see this screen:
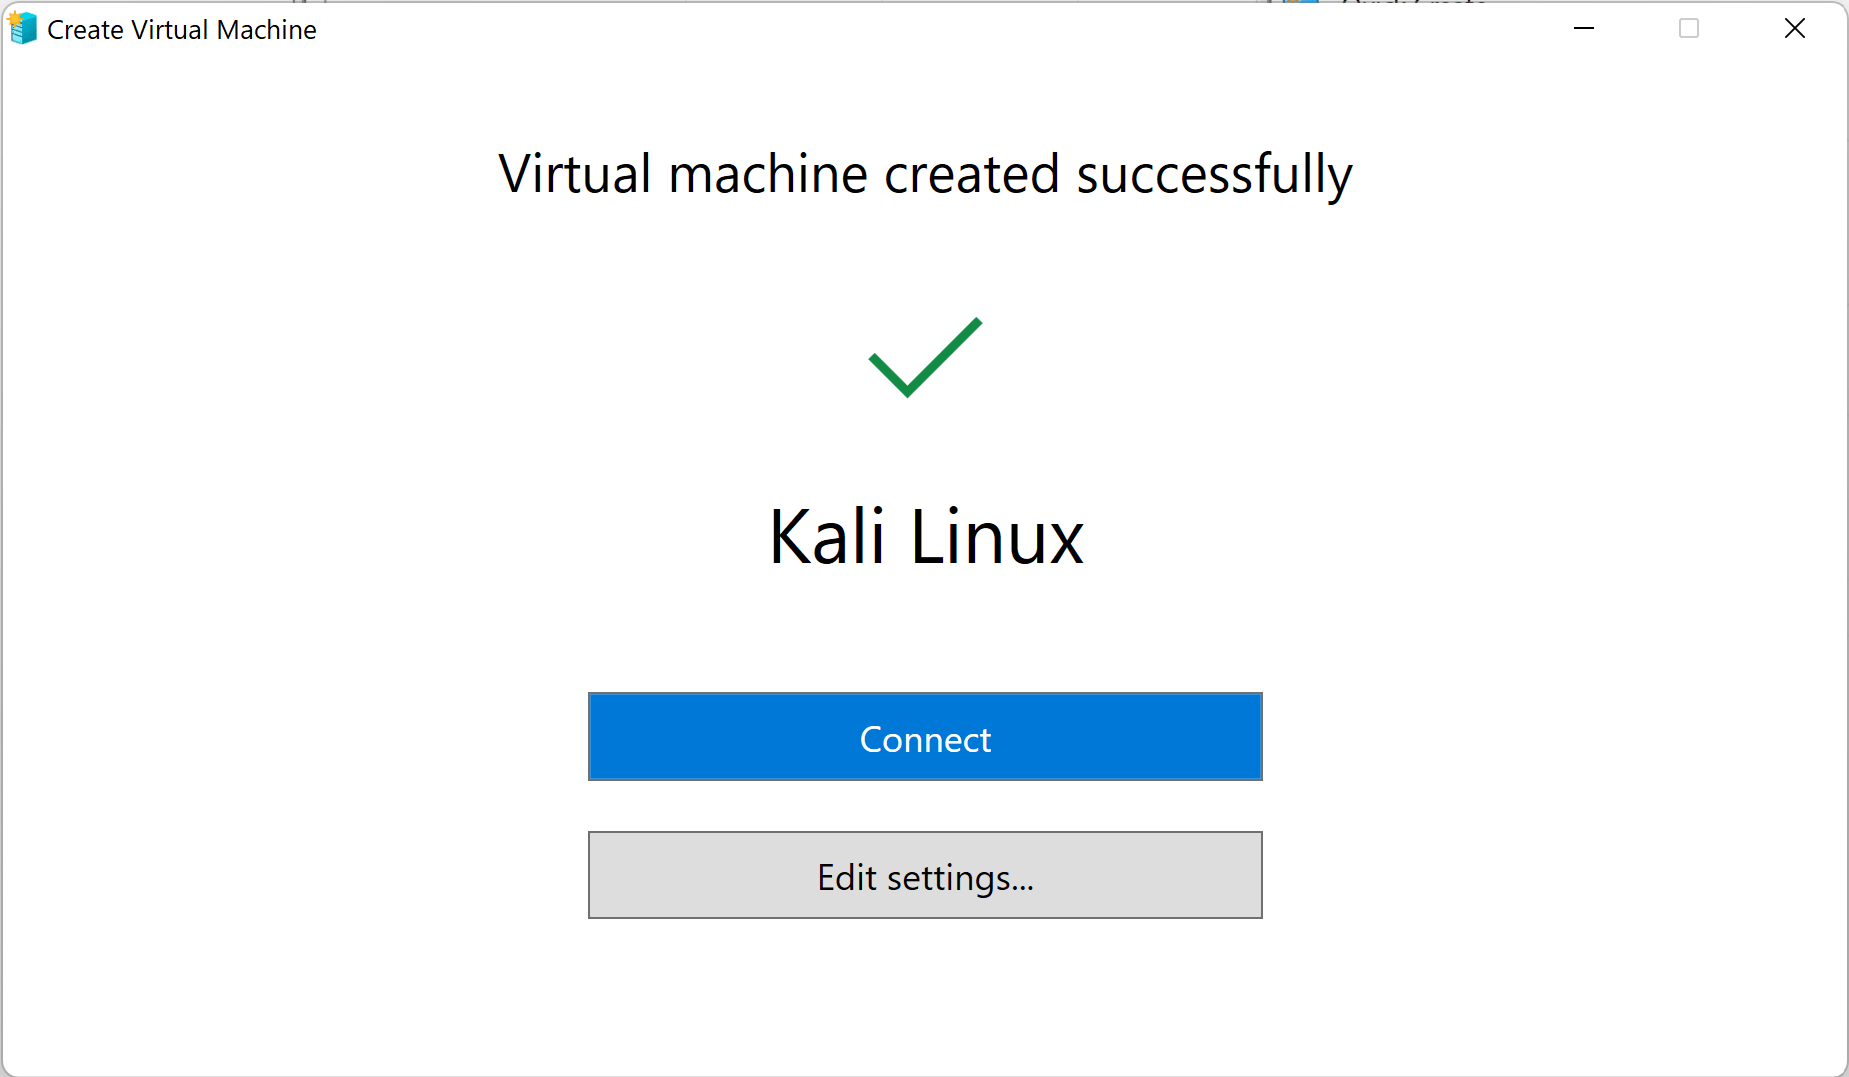
From here we can either select ‘Connect’ if we are confident in Windows’s selections for options, or we can select ‘Edit Settings…’:
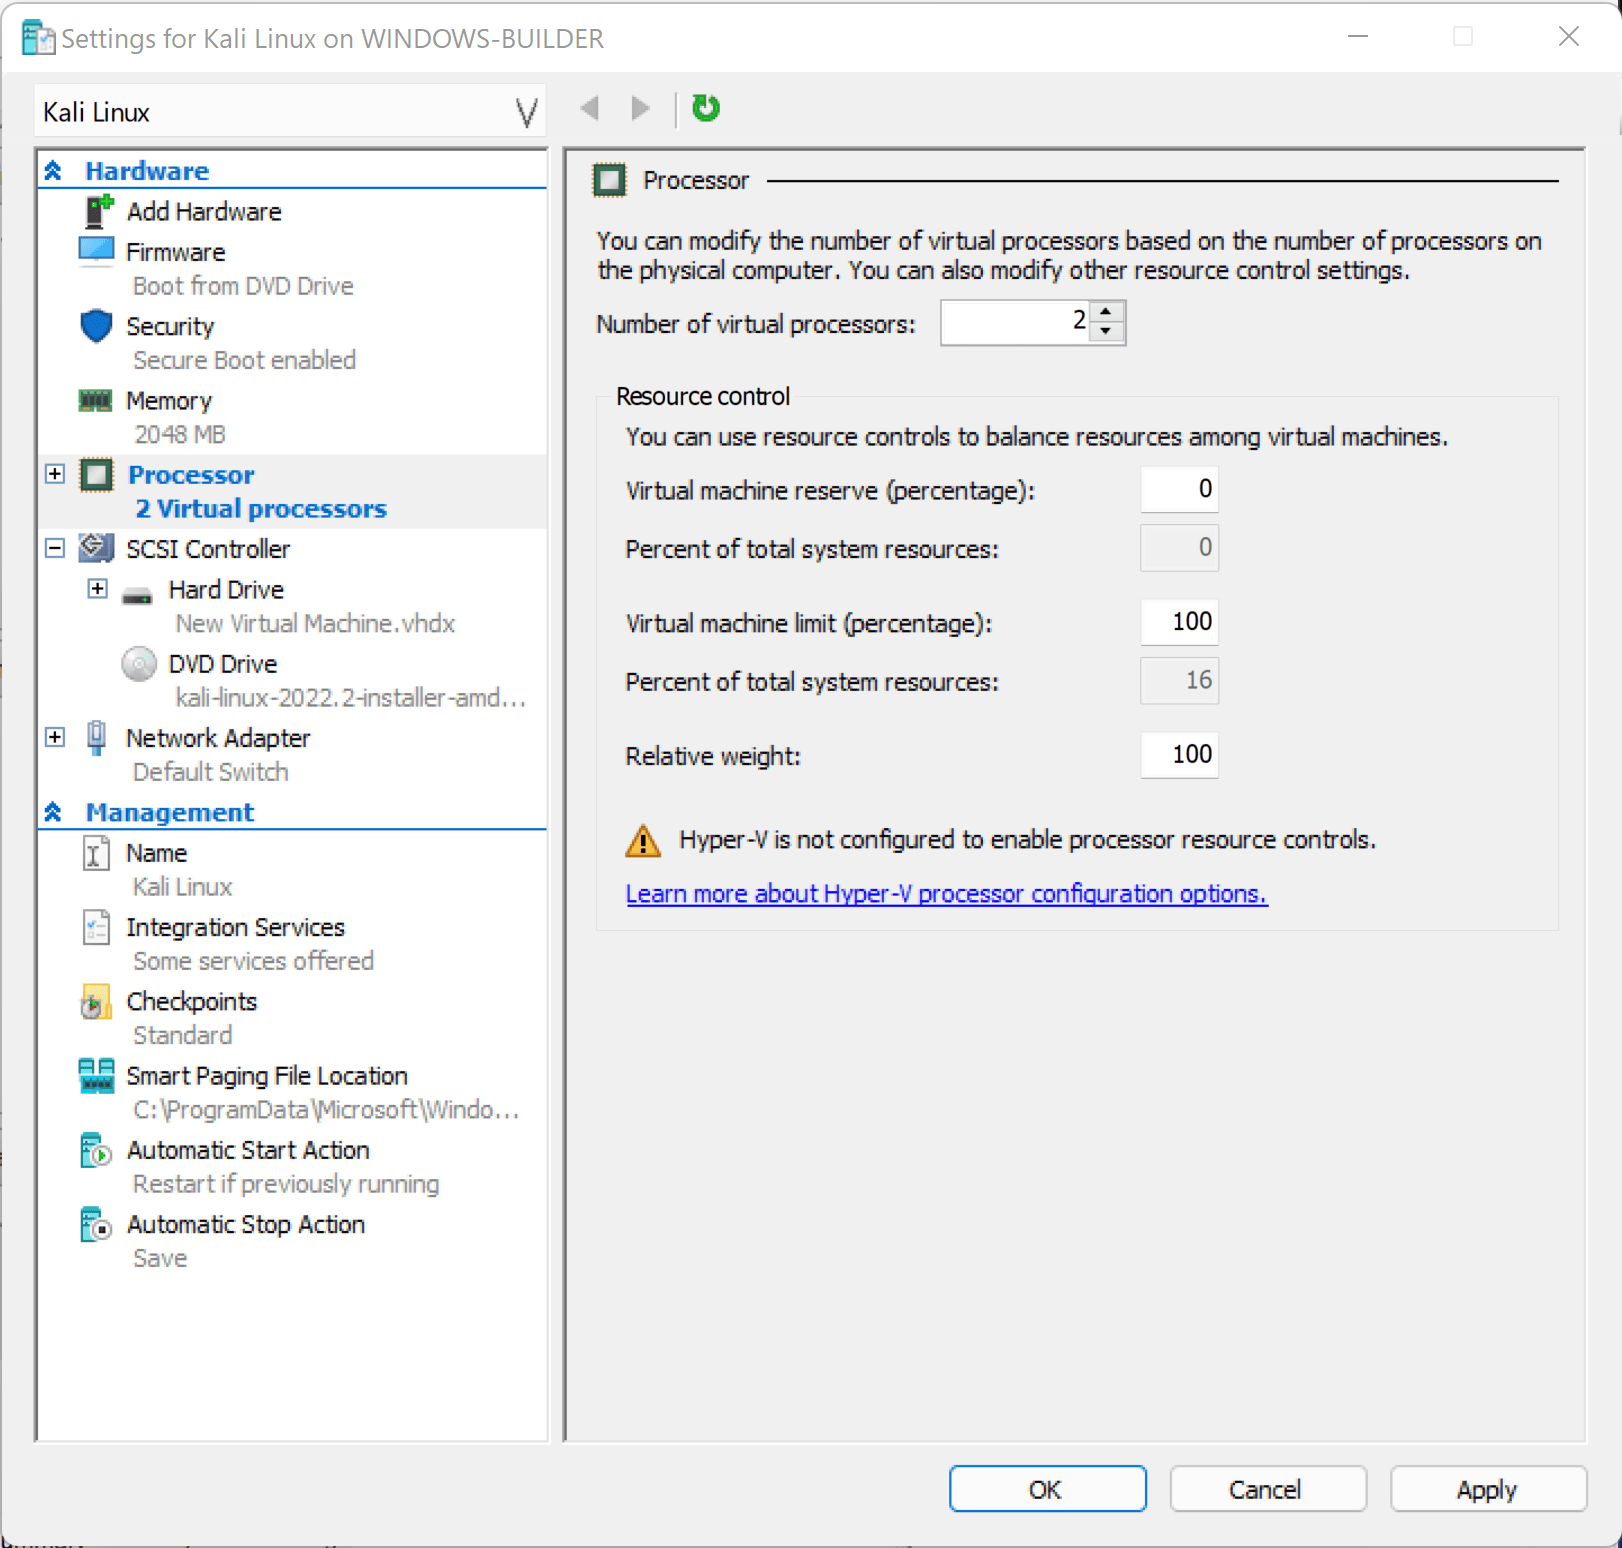
In the case of this machine, the only change needed was for the number of virtual processors. We dropped it down from 6 to 2. We are then ready to connect to our VM and continue setup like normal
Expanding Storage
Hyper-V:
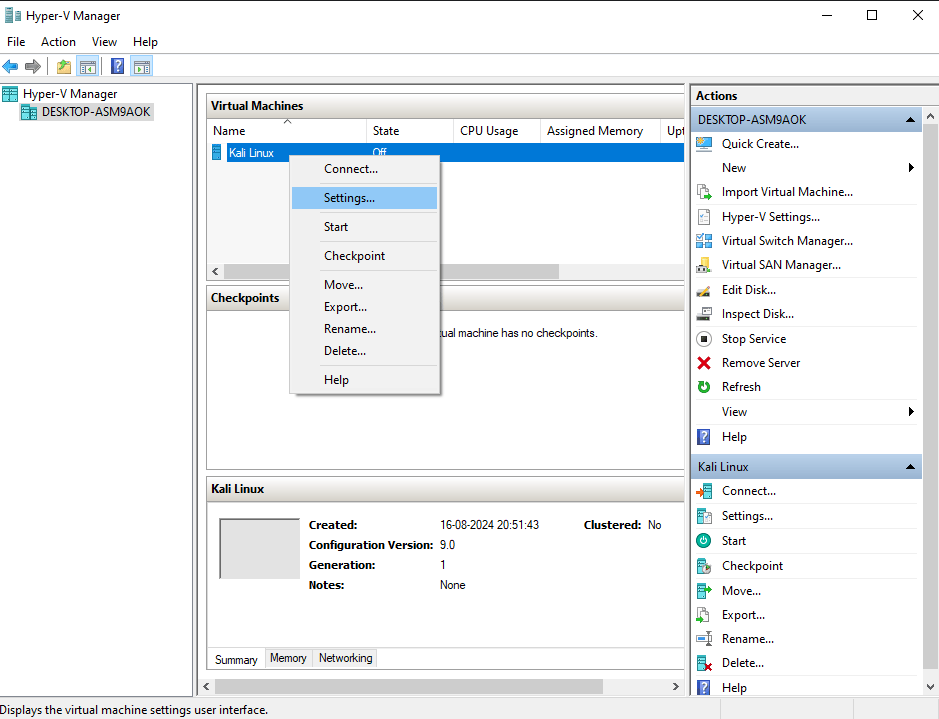
Ensure that your kali linux virtual machine is powered off.
Right click on your kali linux virtual machine in Hyper-V Manager and click on settings.
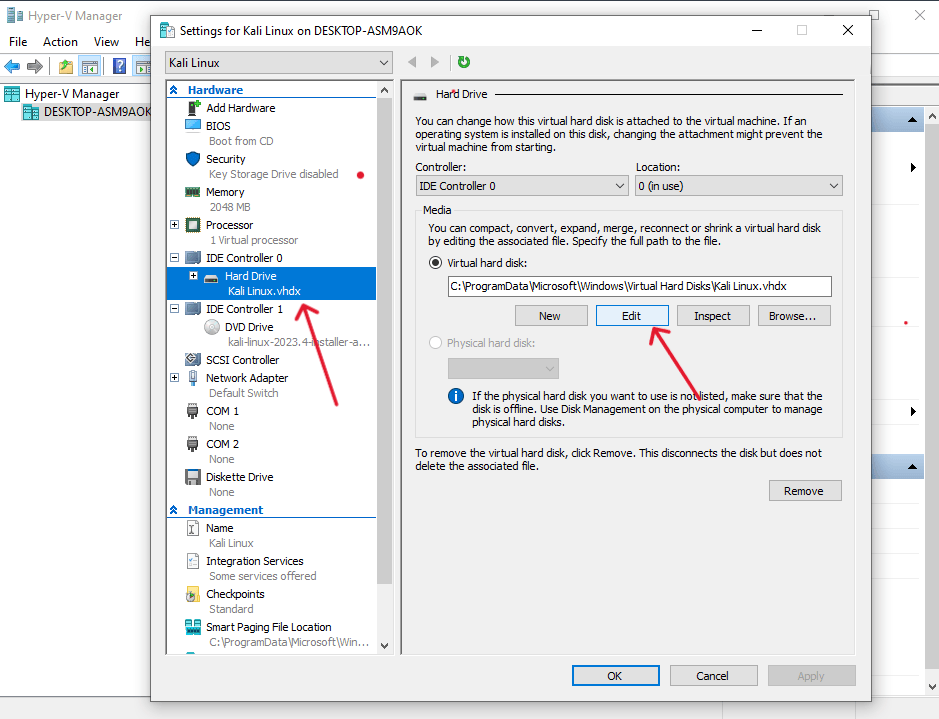
Now click on the virtual hard drive that contain your kali linux virtual machine. Now click on Edit button on the dialog box on the right.
Click Next.
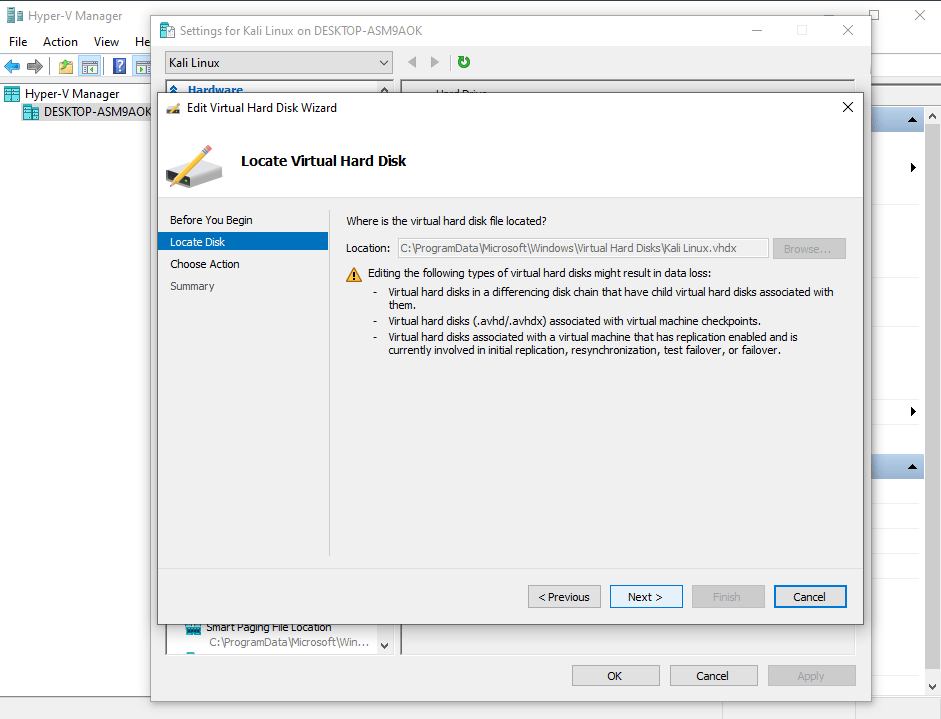
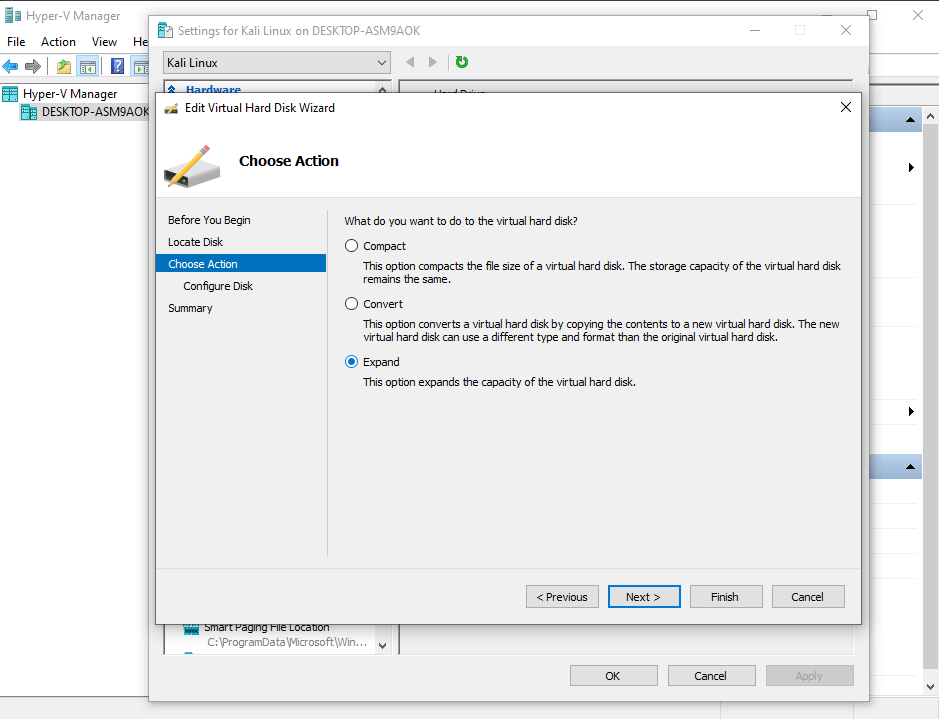
Now click on the Expand option.
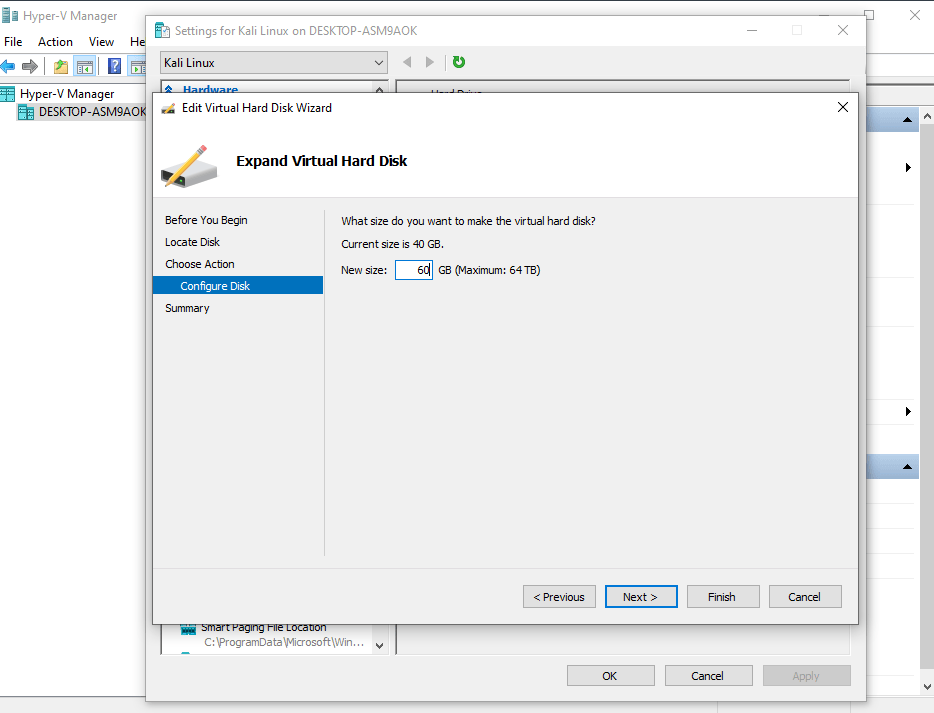
Enter your new size of the Virtual Machine and click next.
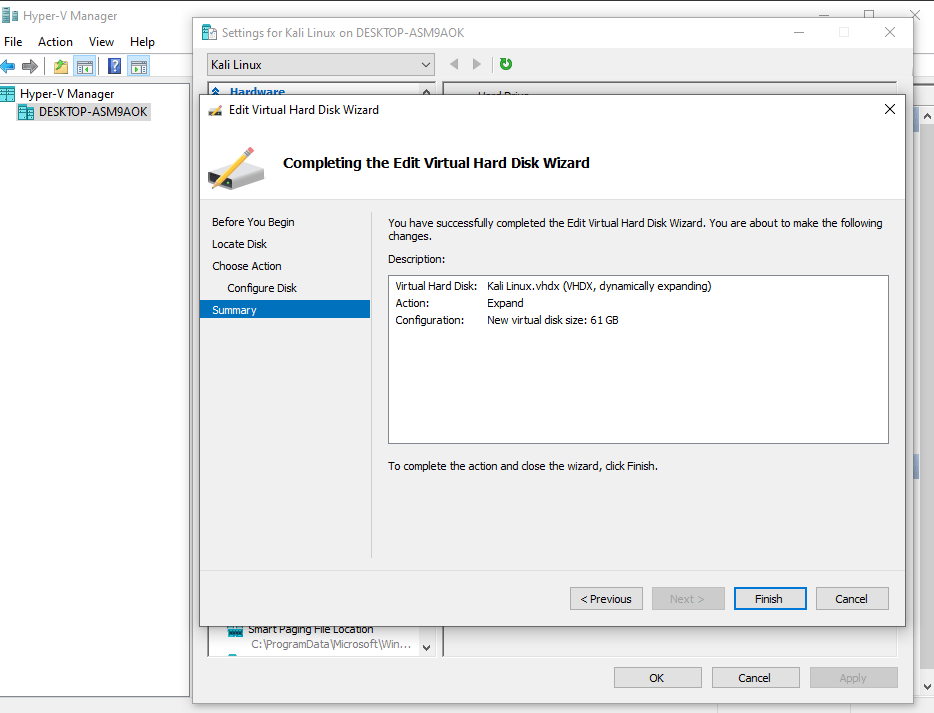
Click on Finish.
Updated on: 2024-Aug-16
Authors:
gamb1t
,
serval123